Introduction
Deploying your monorepo to Netlify/Porter is relatively straightforward, but there are a handful of things to be aware of. The frontend deployment is relatively straightforward, but the backend deployment can be a little more complex and need a bit more attention.For a more detailed guide on deploying a monorepo to Netlify, see the
official documentation.
Prerequisites
Before continuing, ensure you have:- A Netlify account. It is typically easiest to sign up with your GitHub account, as we’ll also be deploying directly from the GitHub repository.
- A Porter account. It is typically easiest to sign up with your GitHub account, as we’ll also be deploying directly from the GitHub repository.
- Published your repo to GitHub. If you haven’t done this yet, you can follow the instructions here.
- Optional. If you’re planning to deploy your documentation site to Mintlify, you’ll need to have a Mintlify account.
Frontend Deployment
Add new project in Netlify
Go to your Netlify dashboard and click the
Add New Site button, and select Import an existing project.Import your monorepo
Select the
Github option and select your repository from the list of repositories.Configure Project
Netlify will automatically detect that you have a monorepo, and should have correctly populated all the required fields.The project root directory should be automatically detected, but if it isn’t, you can manually set it to the folder where your frontend is stored. In this project, that is 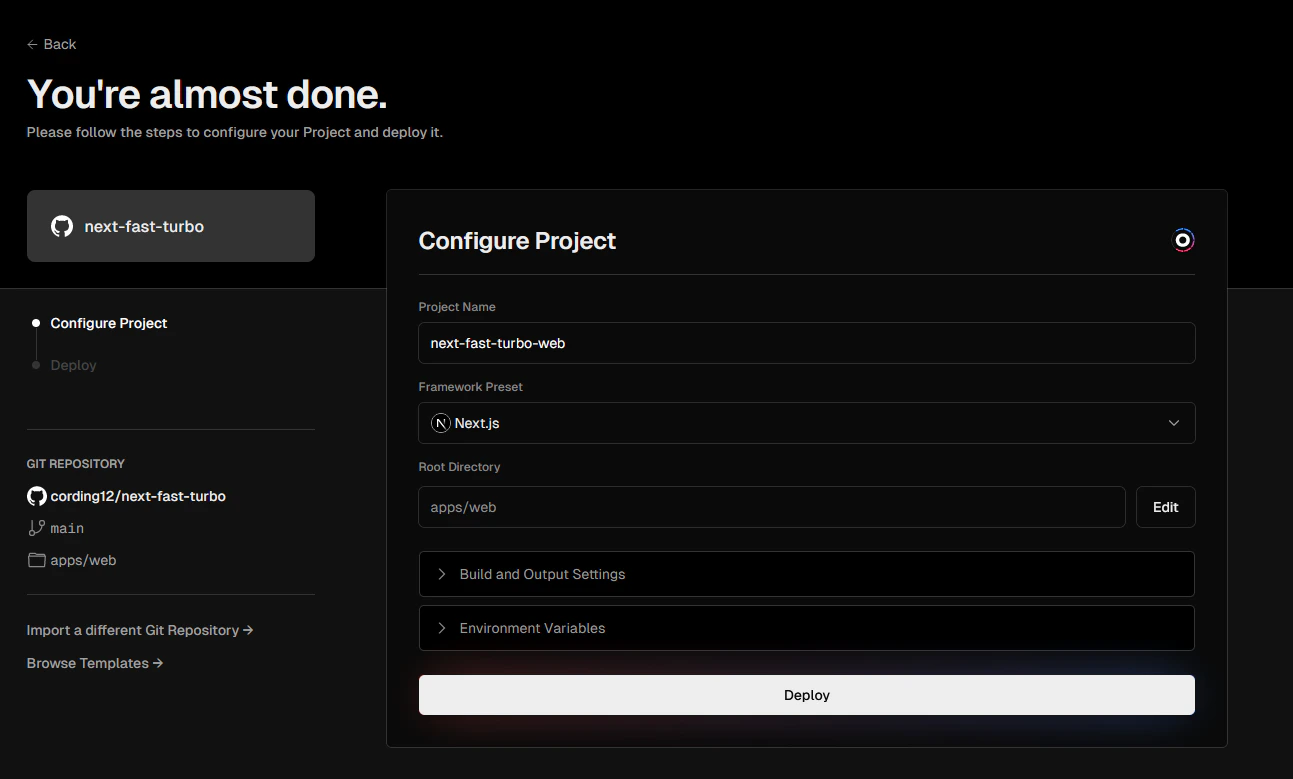
apps/web.Backend deployment
Add new service in Porter Cloud
Go to your Porter dashboard and click the
+ New application button.Import your monorepo
Select the
Git repository option and select your repository from the list of repositories and click Connect.Configure Project
Porter will automatically detect that you have a monorepo, but for the backend we need to change the default configuration.
- Configure your project name
- Change the
Root Directoryto the folder where your backend is stored. In this project, that isapps/api - For build method, select ‘Docker’ and select the Dockerfile path
- Create an ‘api’ application service
- Add the start command
poetry run python run.py - Select CPU as 0.3 Cores and RAM as 900 MB
- Add your Environment Variables (maybe add from .env file as that would be easier)
Documentation deployment
For a more detailed explanation, visit the offical
documentation
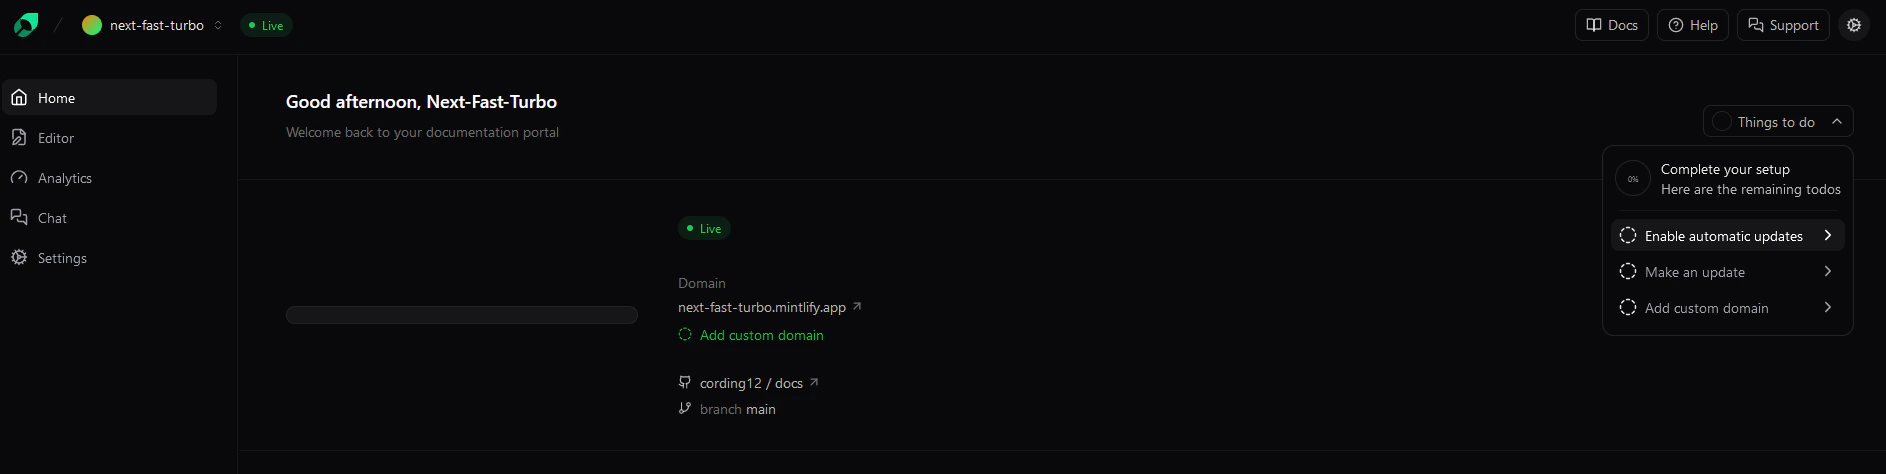
Sign in to Mintlify
Sign in to Mintlify. You will further be prompted to Sign in with GitHub. Follow the onscreen instructions.
Select Monorepo
Configure your deployment to be pointed to your 
docs directory. Ensure set up as a monorepo is selected.